

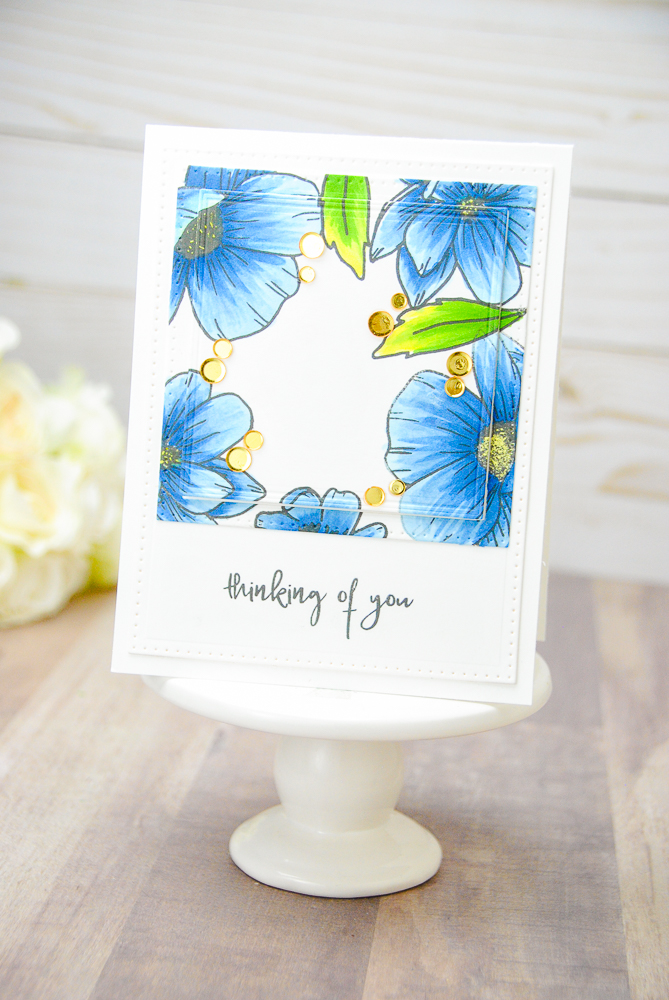
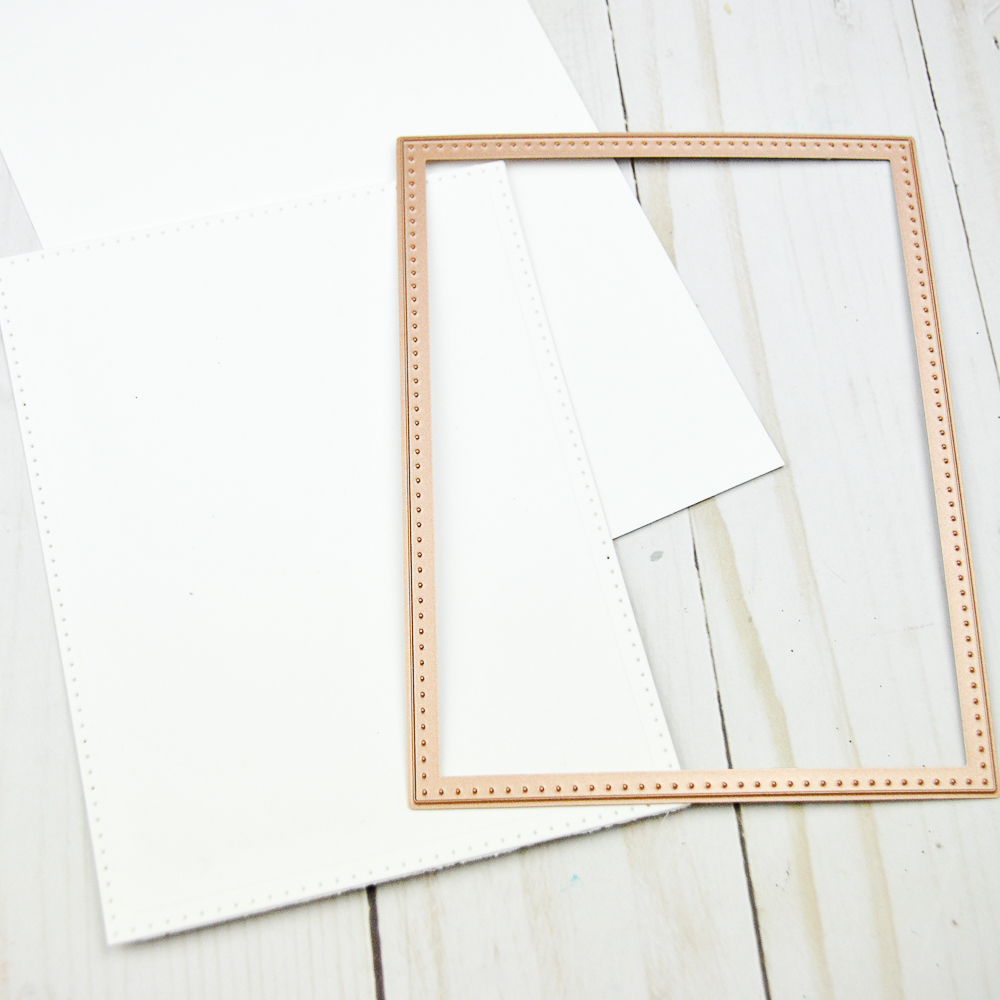
Hi there! Crystal Thompson here for Spellbinders, I am so excited to be guest designing this month and getting to play with the newest release of MUST have dies. For this project I used the Nestabilities Scored and Pierced Squares Etched Dies and Nestabilities Scored and Pierced Rectangles Etched Dies
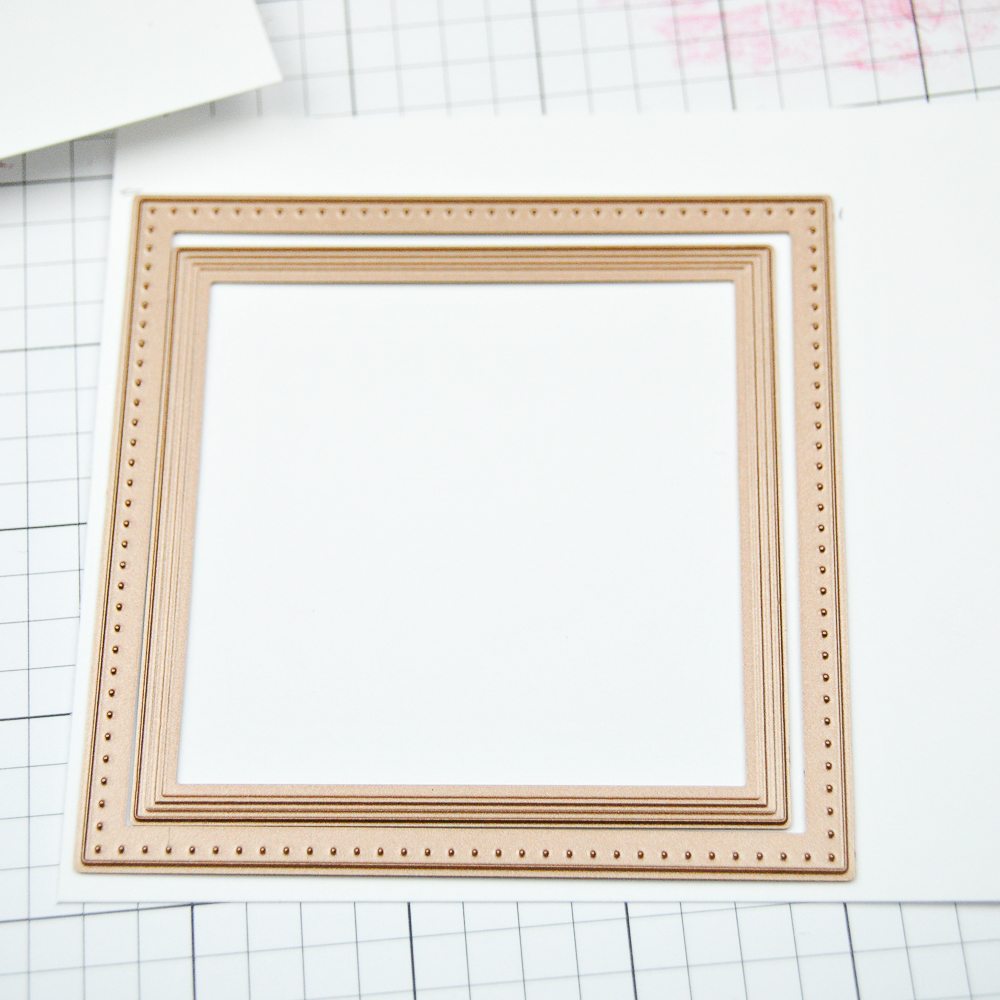
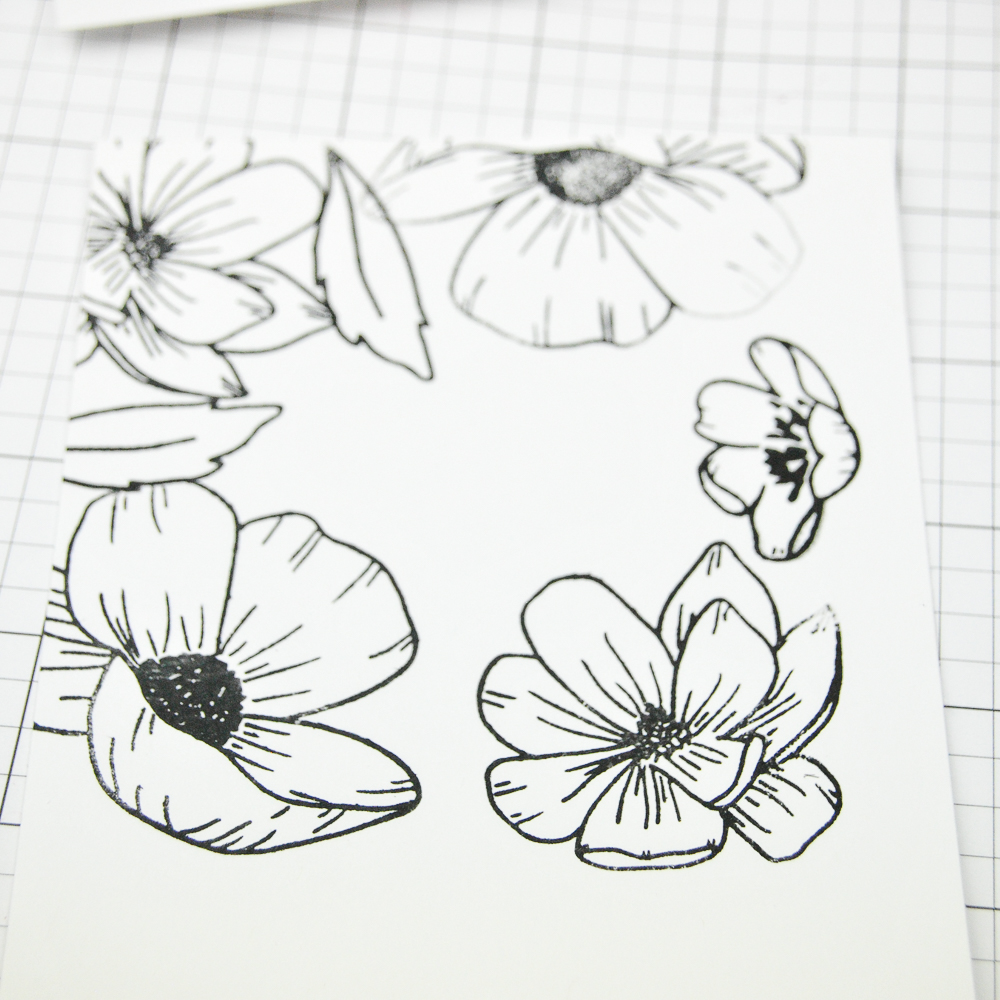
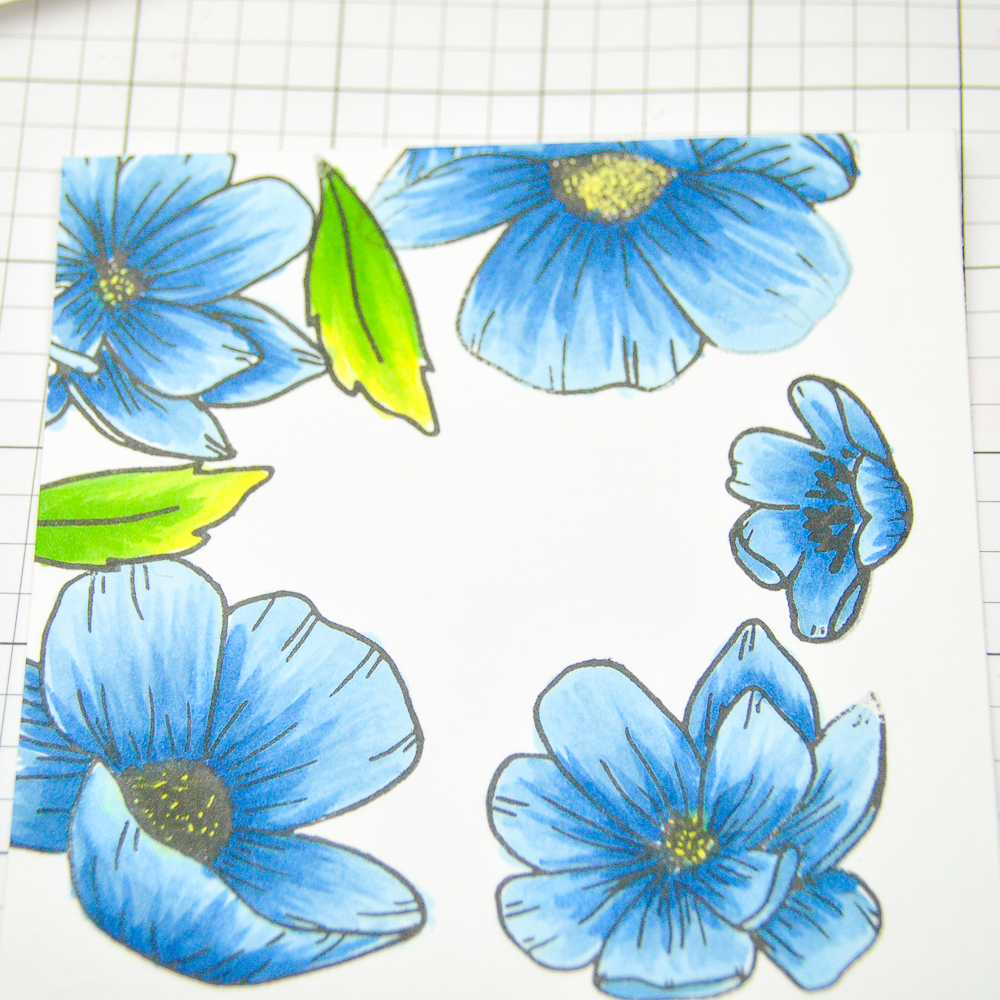
Then I measured out where I was to stamp my image and color, so I set the two square dies and drew a pencil mark on the outer square.
I stamped my flower images inside and around of the pencil mark.

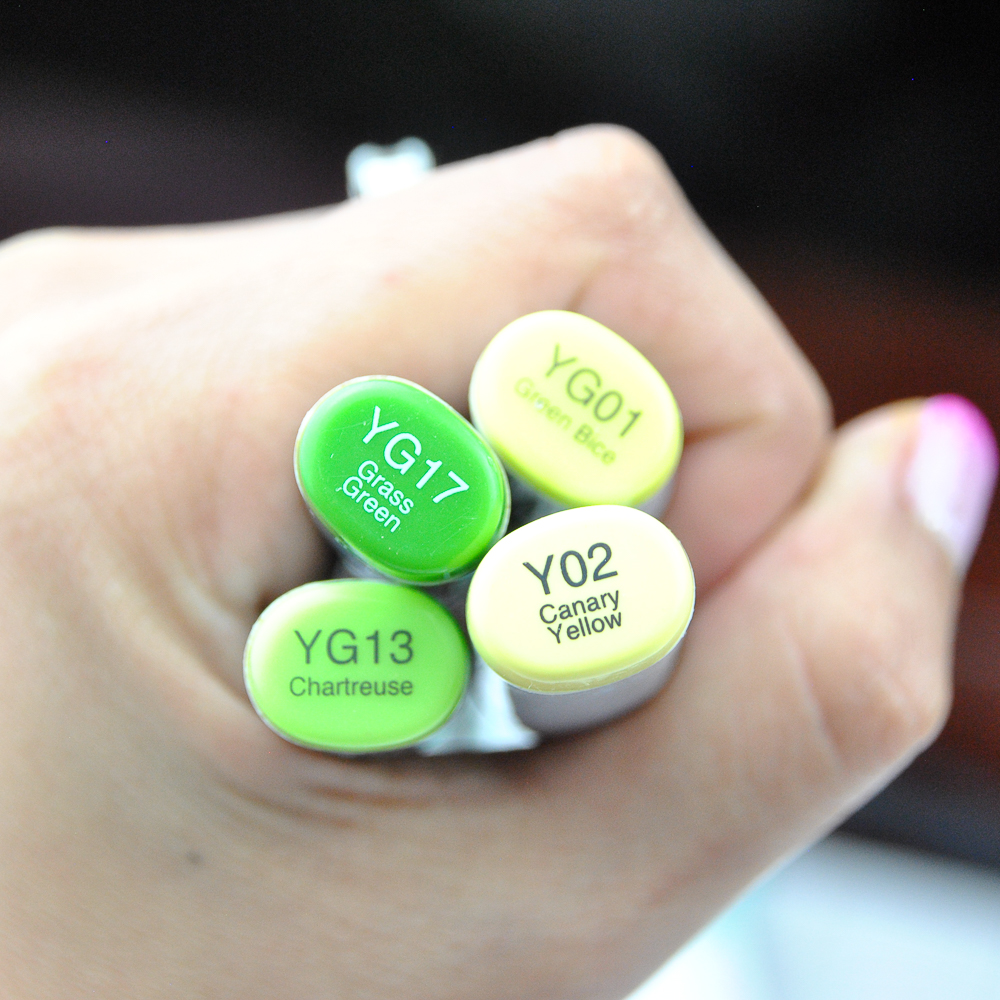
The colors below were used to color the leaves.
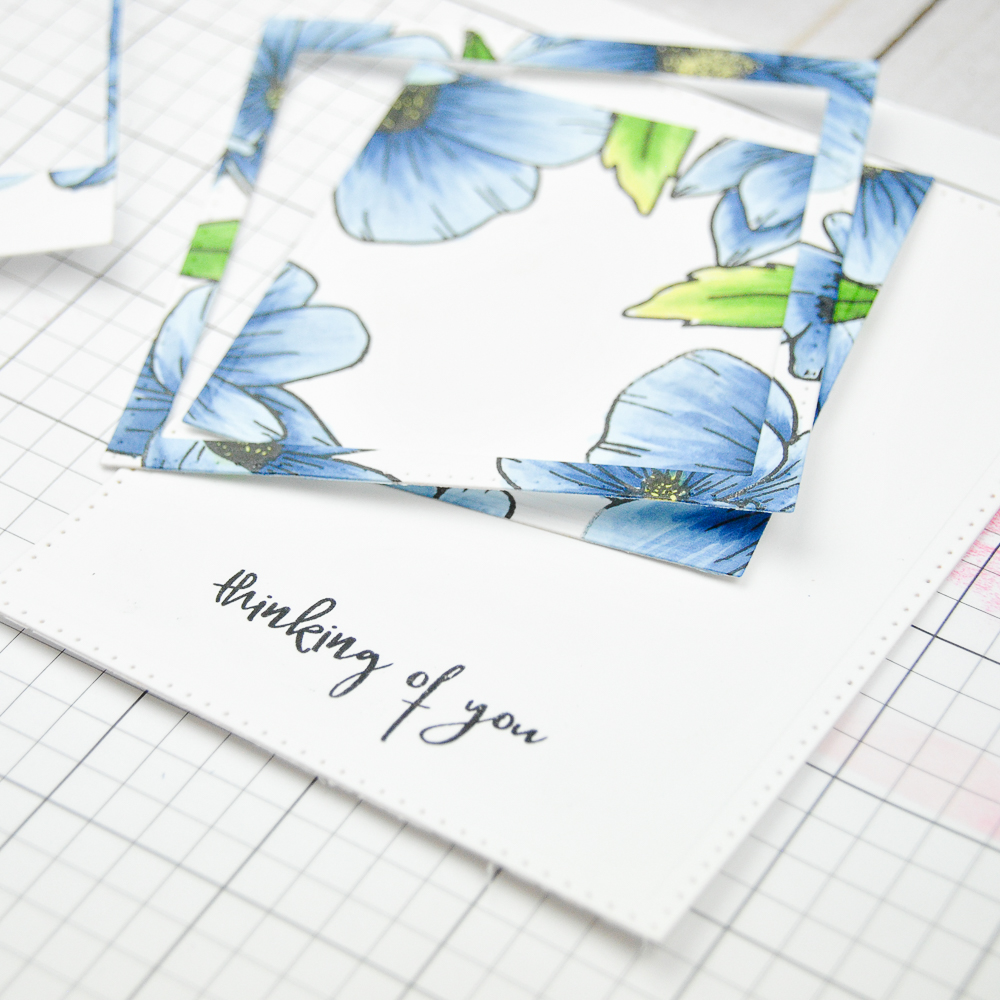
Using the Square Scored & Pierced frames I placed them on my image, and secured them with washi tape.

The result was two evenly cut square and frames, and stamped the sentiment below the squares.
With flat adhesive I placed the outer frame on the card panel. Then with foam adhesive I raised the center square.
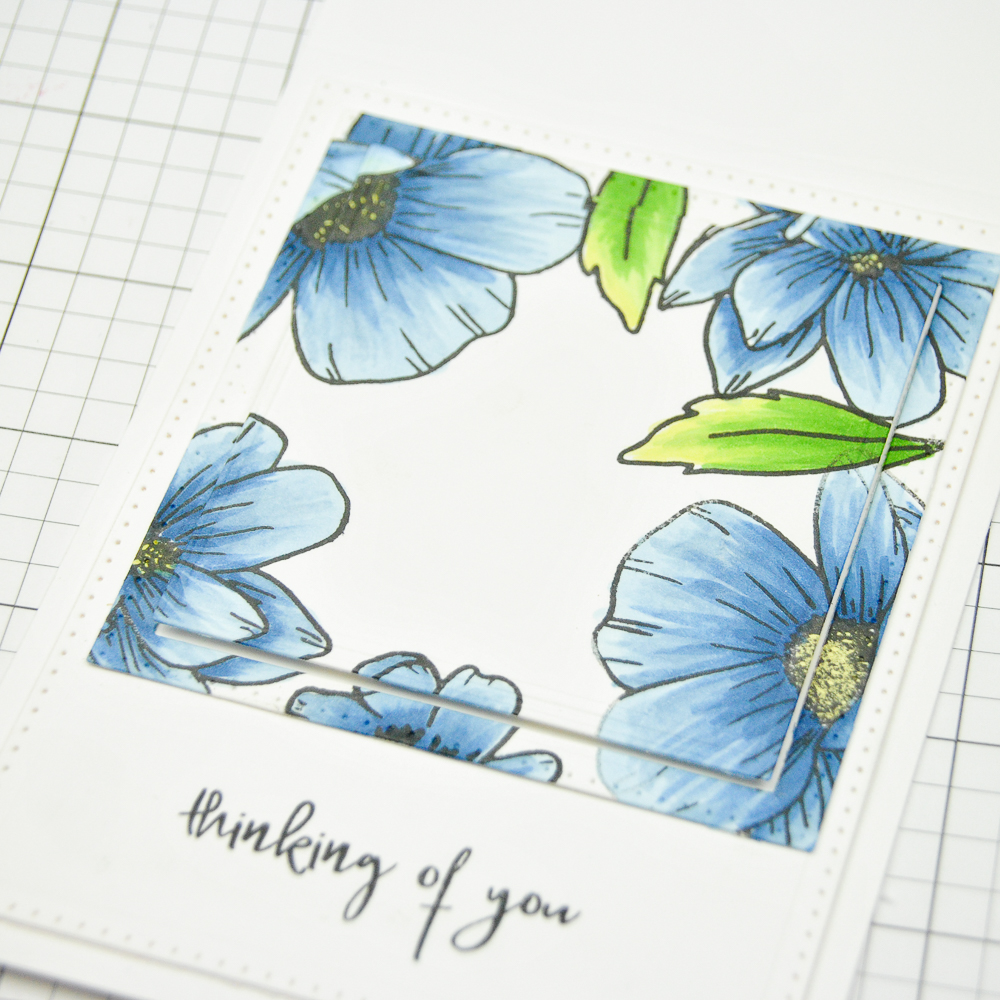
To add a touch of gold, I placed gold sequins on the center frame.

- SKU: S4-904 Nestabilities Scored and Pierced Rectangles Etched Dies
- SKU: S4-908 Nestabilities Scored and Pierced Squares Etched Dies
- Avery Elle Hand drawn Floras
- Copic Markers
- Foam Adhesive
- Pretty Pink Posh Gold Confetti Sequins


Thank you for your step-by step post as it made it easier to understand and follow through this whole process. I have square dies so can't wait to try it hopefully tonight. Keep up the good work!
Comments are closed.